Monday, February 17, 2014

Helen Keller Braille Bulletin Board

My kiddos just finished our Famous Americans unit. I always love seeing which students gravitate to each as their "favorite." This year LOTS of my babes enjoyed Helen Keller, so one day we had a few extra minutes so I decided we could expand a little about what Braille was, exactly. First I wrote out each of their names in braille using tiny black circles for each letter. They put a dot of glue in each spot and the next day they could feel the letters in their name. 


I also gave each of them 4-5 circles (cut out with a 2" circle punch) and mixed 1/2 glue with 1/2 shaving cream and let them "paint." They REALLY enjoyed this! When the mixture dries, it feels like foam. We once again chatted about how important feeling things is when you can't see, and they were able to feel the dots on their desks with their eyes closed!


I finished off by hanging their name posters on the bulletin board (cute, right?) and added the foam dots under my words "We can read by touch" to effectively make my bulletin board braille! I'm sure it's not perfect, but the kids have L-O-V-E-D this activity. I've already had firsties come by to ask if they get to make one next year!


Tuesday, January 21, 2014

Patternosaurus Game

Hey there! I FINALLY got my Repeating/Growing Pattern game uploaded onto TpT for only $2.50.  At first the file was WAY too big but my wonderful sister showed me how to use Photoshop to make it smaller but still keep the amazing graphic quality.

There are 20 cards that each ask questions about repeating or growing patterns. I used KB fonts and the adorable Dino Days graphics from JC Sweetpea. They're adorable! Here's a sneak peak of a one of the pages:


And that's all I've got for today! School was closed thanks to the 3-5" of snow we were supposed to get last night. It didn't happen, but about 15 minutes ago we finally started seeing something fall! I hope it sticks!!!


Wednesday, January 8, 2014

It's already January?

I cannot believe I have not posted a single thing since the first week of school! Woah! What happened to all of my spare time?!? We finished up the first semester on December 20, and just started back on Monday. Well, we went Monday. Yesterday and today were both too-cold-for-school days so I've been at home lounging around, updating my TpT store and trying my best to stay warm.

I've uploaded a free producers/consumers Christmas activity (yeah, should've done that BEFORE Christmas!) as well as two Christmas plays I've written for my church (5 bucks each). I've also added a free chart set that I made for a dear colleague looking for a better way to chart her students' IEP goals. She drew me a sketch of what she wanted and I was able to make it cute ;-).

Hopefully I'll get around to finishing up a few other things I've got going on (my computer is full of half-done projects) and post again before June!


Saturday, August 17, 2013

Wow. That's just about all I can say. Wow.

If you've read Lilly's Purple Plastic Purse, you've heard that line before. After a first week of school (yes, the WHOLE week) my kiddos and I were exhausted Friday afternoon! I've got 16 kids: 8 girls, 8 boys. They are sweet, well-mannered, good-listeners, and excited about reading chapter books! I'm loving them so far.

I wanted to take pictures of my classroom at the beginning of the year to show how I organize and decorate but every time I started to take a photo on Business Day I had a visitor, then would get side-tracked. This week was much too busy to even think about pictures!

First things first. My older sister has been teaching me how to use Photoshop (And by teaching, I mean me texting her a photo/question every time I get frustrated!) so I've been experimenting with coloring the borders I bought at Scrappin' Doodles over the summer.


I also bought several clipart cds/downloads from DJ Inkers, whose copyright states that I can't sell the things I make with it, only give them away. This means I get to share my cute One Minute to Go poster with you for free! You can download it from HERE, at my TPT store!
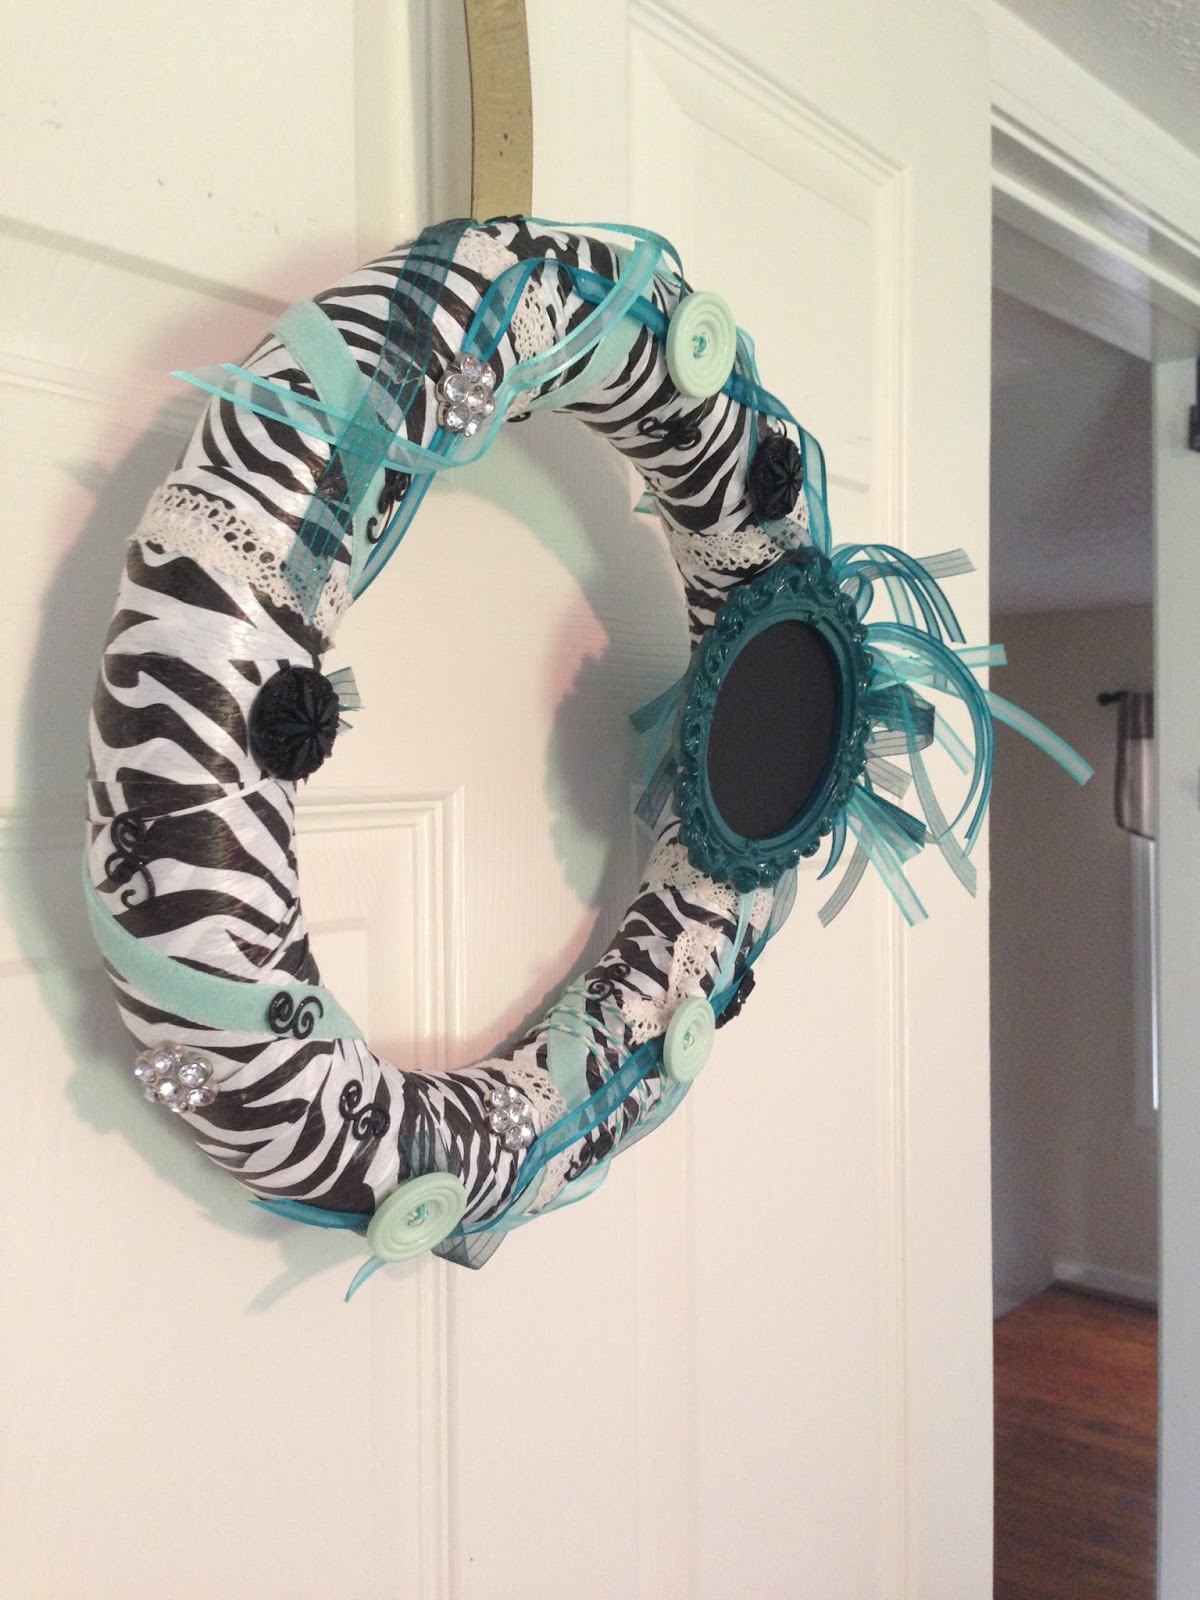
Here's a picture of my door on the first day of school. I've got my Shhh... testing poster ready to move to the front of the door as needed (got it from The Pinspired Teacher!), our lunch calendar, the back-to-school wreath I made, our end of the day checklist, and a bus poster we stick bus passes on. Pretty cute!


 The next thing I'd like to share are these amazing Quick Stick nameplates. I picked up about a million packages at the Carson Dellosa Warehouse sale a few years ago (for a buck each) but if you've never used them... go buy some RIGHT NOW! They are such a time-saver! They completely replace the contact paper cutting, did-i-get-it-even questioning I used to spend so much time fussing over! The best part is that it has everything my babes need. To start off the year I go with these simple ones, but will change them out for these once the kids start picking. The second set will have a number line AND a hundreds chart. I also like to start a nice discussion on taking care of belongings when I put on the second set, as they will last the rest of the year so the kids better not pick at them! Believe it or not, I've had good luck with it!


Third thing to share: I bought these items at walmart (a magnetic dry-erase board, enough magnets for each child, and some green tape... along with yellow spraypaint {not pictured}) to created one of those cute "I've Left the Room" boards that I've seen floating around Pinterest.

I painted my magnets yellow, so they would be cute, and cut the tape into smaller strips. I used a permanent marker to write on the board so it wouldn't come off, but can always remove it if necessary.
The kids so far L-O-V-E it! There is a terrible glare on this blurry picture (oops!) but you get the idea. I've got a spot for office, bathroom, nurse, errand, speech, tier 2, 3, 4, and computer lab. Right now it's mainly being used for bathroom (lol... I hate that part of the beginning of the year!) but as we begin our IE blocks and my kids are all over the place, we'll use it for that as well.

Here is my desk layout for the beginning of the year. I've got 4 sets of pairs, then two lines of 4/5 desks in the center. I never know what kind of kids I'll have, so I never know how to plan the desks. This is a great starter, though!


This is probably the best investment I've ever made for my classroom. I spent about a hundred dollars to buy super sturdy, brightly colored boxes to fit on my built-in bookcase. Then I labeled each one of them with something I teach during the year. I put them in order by how I plan to teach them, then pull down the books as needed. You can see my red and orange boxes are empty right now, since they had my "Back to School" and "Citizenship/Diversity" books in them. When the boxes get too full, I move them to a rubbermaid box I have elsewhere in the room (I have a tub of just Christmas books!) and keep the extras we find throughout the year in the designated section. Each math category has a section (money, time, probability, etc.), 100th Day of School and other holidays have their own boxes, and each of my unit study topics (American Indians, magnets, etc.) have their own as well. It's a GREAT way to keep track of the books I need for certain lessons.


Here is my calendar board, at the front of the room. The poster for what they fill out in their planners is a big spot, then I also have all the morning math pieces. The reporting/tattling posters I made were inspired from pinterest last summer!


Here's my cheesy back to school board I made for Business Day! Each students' name is written on a gumball.

Here is a wreath I made for our Computer Lab manager whose room is across the hall from mine. I'll write her name using a chalkboard pen I picked up at Hobby Lobby last week. 


And here is a wreath I made for one of my favorite people, our SPED teacher. Her room is right next to mine, too! 

 I can sum this post up by saying I had a GREAT first week of school. I hope to add a couple more pictures and link soon to a few more classroom activities we've done (like the cutest ever Lily and cowboy boot!)

I'll leave you guys with this picture of a weird beetle we found hanging outside of the door on our way to recess one day. We couldn't decide which side was his head and which was his tail!


Enjoy your weekend!



Saturday, August 3, 2013

Google Reverse-Lookup for PICTURES!

This isn't directly school-related, but it is educational, and when reading it I thought "Wow! Everyone on Pinterest needs to know this!" By going to THIS SITE by some guys in New Zealand (yeah, call me 'Stalker'...) you can use it to find the original source of pins with broken links. If everyone fixed them when they found them, there would be none! I hate clicking on a pin to find directions or get a better look and it go to something random, or nowhere at all. I don't know if I'll be able to find all of my broken pins, but from now on I'll certainly try to keep a better eye out so I can pin from the original source! I hope you'll do the same! It may also be useful for some other reason, though I can't think of one yet. 
UPDATE: I thought of another reason!! When I see a weird bug outside I can take a picture of him and  reverse search to see if there are others of his kind. Then I can read up on him and know whether to let him live naturally in his habitat, or kill the invasive alien with something hard and flat. Either way, it will be useful!


Lego Crayons!

At the beginning of summer I ordered a couple of Lego molds off ebay that are made to use with heat (they'll probably say something about chocolate making) and found a pile of old crayons (the large ones, with 24 of each color) looking for a new purpose in life. I gave them one!


First, I sorted my crayons by color, then chopped them up into tiny pieces (you can use a knife to make big chunks for large molds, a cheese grater to make tiny pieces-but that didn't work well for me, or a food chopper like mine from Pampered Chef.)


I put some of the pieces into my lego block mold, and the rest went into a double-boiler to melt. I wanted melted wax to pour into the lego-men, since they have so many small pieces. After my first batch, I realized the chopped up pieces left too many air bubbles in their little heads and arms.


I cooked the block molds (on an old pan) for 30 minutes at 250 degrees. The double-boiler took about 10 minutes to melt the wax. I stirred it occasionally with a straw, then pour into molds!


Then I had to let them cool. I set them out for about 30 minutes, then once firm I put them in the freezer to hurry along. The whole process would be MUCH easier if I had more molds. If you plan on making a lot of different colors, I would recommend buying multiple.

Lastly, I carefully popped them out of the molds (oh how I love silicone molds!) and poof! I'm done. A few of my reds didn't turn out well (they didn't cool long enough) so that parts definitely necessary.


 I'm still finishing up the orange ones... Did I mention it takes HOURS to do this!? Waiting for them to cool is SO HARD! :-)


Thursday, August 1, 2013

Fantastic Mr. Fox Book Study

Last year I had an unholy number of boys in my class (17, compared with 6 girls) so I was always on the lookout for silly games, slimy experiments, and disgusting-humored books to keep their attention. (My poor, precious girls, I know!) After seeing this dapper fox tie at www.uncovet.com, I decided to create a book study for Fantastic Mr. Fox.

I had read it to my fourth graders a few years previously, and remembered the gross descriptions of the farmers and the action-packed adventure of Mr. Fox... but knew there was no way my Seconds could do any of the activities already out there. So, Mrs. H., my partner-in-crime, and I went in together and purchased the tie for our awesome principal as an incentive to clear his schedule each day for about 20 minutes over the course of a week to read the novel to our kids in a big group. We weren't sure if our 8-year-olds would listen to our voices for 20 minutes each day, but knew they'd pay attention to the King-of-the-School (as he's affectionately called!)


I then created a full book study with questions for kids to answer each day (in Second Grade language) as well as lots of other activities (character analysis, a prediction piece, a fun cootie-catcher) so the book could take the place of our reading series for the week. There are 26 pages in all (we ended up running out of time some days, and we have a 90-minute reading block!) so you can pick and choose the best activities to fit the needs of your kiddos. You can get to my TPT site by clicking the link above. Here's a sample of some of what's included, and all the printables are black and white for convenience at the copier!

It was a lot of fun, and even my girls enjoyed listening and participating! I plan on doing this again next year, but will have to find another way to bribe someone to read it aloud! The pages include: Read-Aloud Sticky Notes and Foxy Facts Sheets so the book can be read aloud or students can complete written responses for the questions if reading independently (directions included), Book prediction/summary, "Not So Fantastic Farmers" character analysis, "Dig, Dig, Dig" retelling picture, "Burrowing Bandits" graphic organizer, "Rhyme Time" writing activity, "Fantastic Effects" cause and effect map, "Mr. Fox is Fantastic" descriptive writing, and a cootie-catcher style foldable with extension questions. All items were created with 2nd-3rd graders in mind, and each level of Bloom's Taxonomy is covered.

*Update! I revamped the graphics in my Book Study. Details are HERE.